
“`html
How to Replace a Worn-Out Toilet Flapper
Replacing a worn-out toilet flapper can seem daunting, but it is a straightforward task that can save you both time and money. A faulty flapper can lead to constant running water, which can increase your water bill and cause unnecessary wear on your toilet components. In this guide, we will walk you through the process of replacing a toilet flapper step by step.
What is a Toilet Flapper?
A toilet flapper is a rubber or plastic valve located at the bottom of the toilet tank. Its primary function is to seal the tank and control the release of water into the bowl when you flush. Over time, flappers can become worn, leading to leaks and a continuously running toilet.
Signs You Need to Replace Your Toilet Flapper
Before you begin the replacement process, it’s essential to recognize the signs that indicate your toilet flapper needs to be replaced:
- The toilet is constantly running.
- You hear water trickling into the tank.
- You notice water pooling in the toilet bowl.
- Flapper looks warped, cracked, or damaged.
- The toilet flushes weakly and doesn’t fully empty.
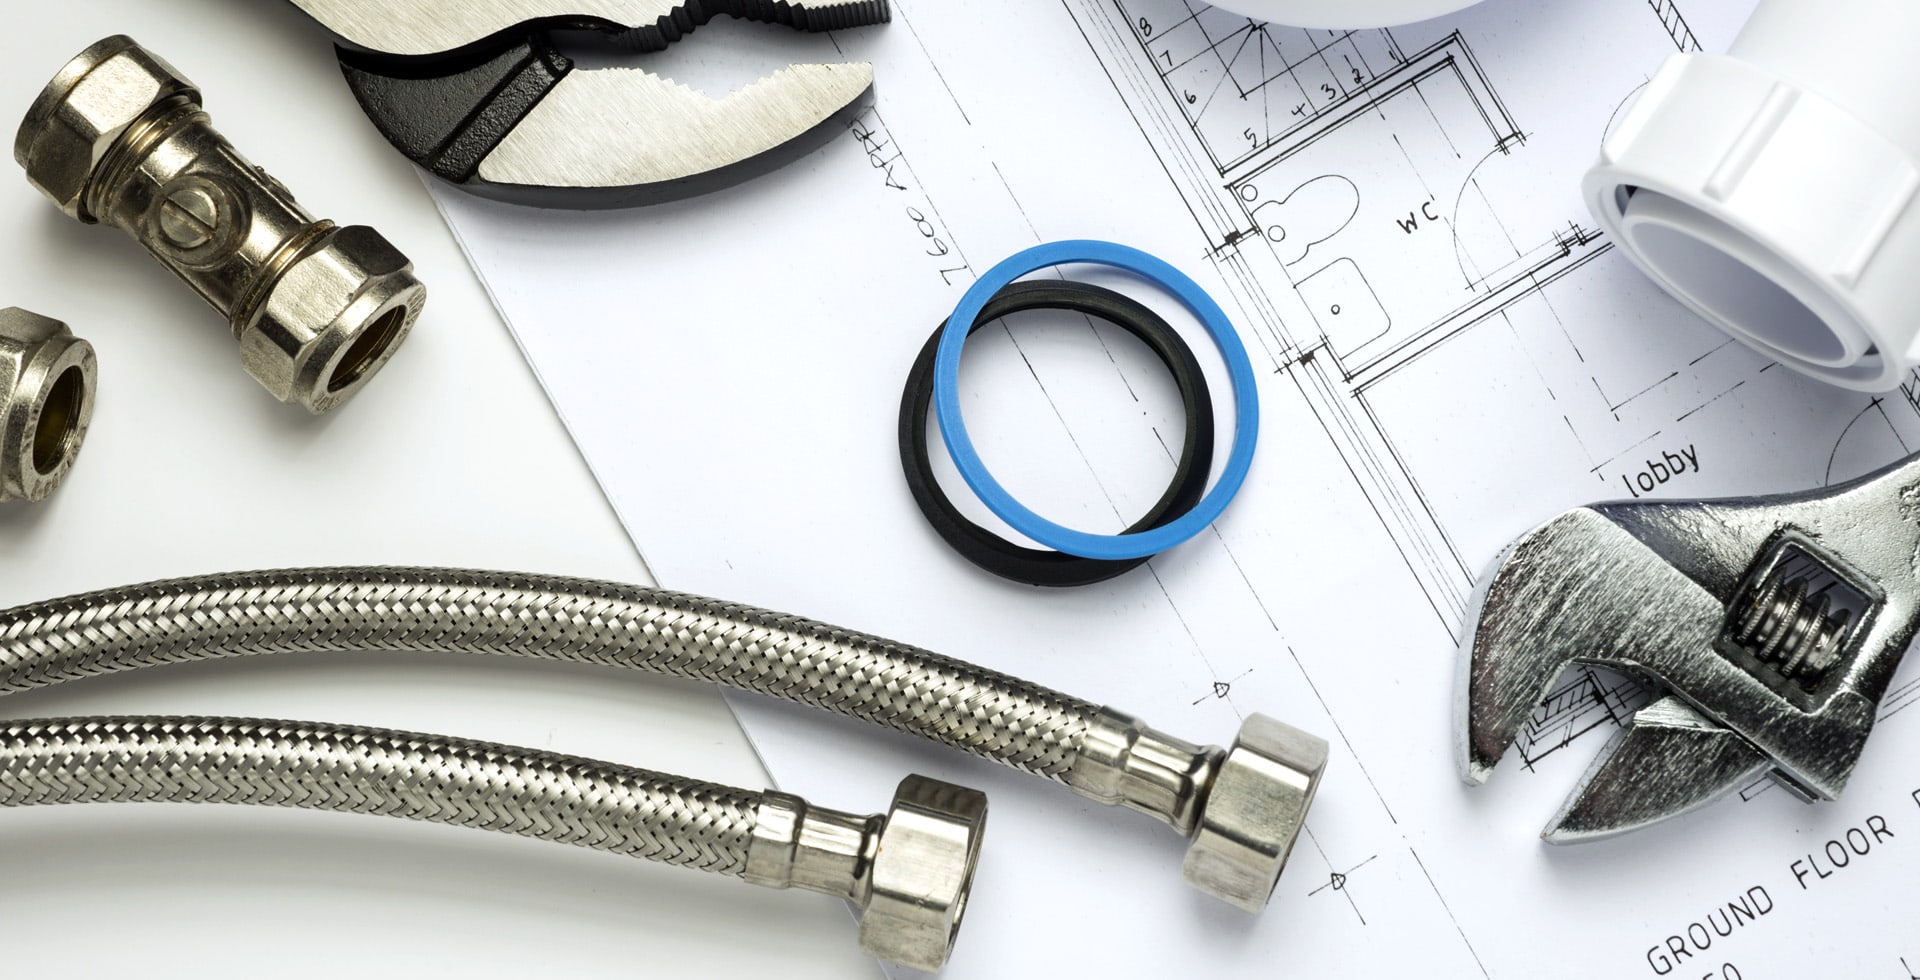
Gathering Necessary Tools
Before starting the replacement, gather the following tools and materials:
- New toilet flapper (ensure it matches your toilet model)
- Adjustable wrench or pliers
- Sponge or towel
- Bucket (optional, for excess water)
Steps to Replace a Worn-Out Toilet Flapper
1. Turn Off the Water Supply
Locate the water shut-off valve behind your toilet and turn it clockwise to cut off the water supply. To confirm the water is off, flush the toilet and let the tank empty.
2. Drain the Toilet Tank
To drain the tank completely, hold down the flush lever until all water has been released. Use a sponge or towel to soak up any remaining water at the bottom of the tank.
3. Remove the Old Flapper
Disconnect the old flapper from the flush valve by unhooking it from the chain and detaching it from the pegs that hold it in place. Make sure to take note of how it was attached, as you will need to replicate this when installing the new flapper.
4. Clean the Flush Valve
Once the old flapper is removed, inspect the flush valve for any debris or mineral buildup. Clean the surface with a sponge or cloth to ensure a good seal for the new flapper.
5. Install the New Flapper
Position the new flapper over the flush valve and secure it onto the pegs or hooks provided. Make sure it sits properly to create a good seal. Attach the chain to the flapper and adjust its length to ensure there’s enough slack for the flapper to close fully.
6. Turn On the Water Supply
After the new flapper is installed, turn the water supply back on by twisting the shut-off valve counterclockwise. Allow the tank to fill completely and listen for any leaks.
7. Check for Proper Functioning
Flush the toilet several times to ensure everything is working correctly. Monitor the operation of the new flapper, checking that it opens fully during a flush and seals properly afterward.
Tips for Maintenance
To ensure the longevity of your new toilet flapper and prevent future issues, consider the following maintenance tips:
- Regularly check for leaks by letting your toilet sit for a few hours without flushing.
- Clean the toilet regularly to prevent mineral buildup.
- Ensure the water level in the tank is set correctly; it should be about an inch below the overflow tube.
- Avoid using harsh chemicals that can wear down the flapper material.
Conclusion
Replacing a worn-out toilet flapper is a simple yet effective way to maintain your toilet’s efficiency and minimize water waste. By following these steps, you can easily tackle this DIY task and ensure your toilet operates smoothly. Remember that regular maintenance and checks can extend the life of your flapper, helping you save on water bills and ensuring your toilet remains in excellent working condition.
“`